Table of Contents
ToggleIf you’re spending money to heat or cool a home that nobody’s using, it’s time to look at a smart thermostat. The Honeywell Home T9 is one of the most practical choices for homeowners who want real control without the complexity. It learns your habits, lets you manage temperature from your phone, and, here’s the useful bit, uses room sensors to heat or cool only the spaces you’re actually in. Unlike many smart devices that feel like solutions looking for problems, the T9 addresses a real pain point: uneven temperatures and wasted energy. Whether you’re upgrading from a 20-year-old dial or swapping out a basic programmable unit, this guide covers what the T9 does, how to install it, and whether it’s the right fit for your setup.
Key Takeaways
- The Honeywell Home T9 smart thermostat uses wireless room sensors to heat or cool only occupied spaces, eliminating uneven temperatures and reducing energy waste.
- Remote access via smartphone app and geofencing features allow you to control your home’s temperature from anywhere and automatically adjust settings based on occupancy.
- Installation typically takes 20-30 minutes for standard forced-air systems, though hiring a professional HVAC technician for $100-$200 is recommended for complex setups.
- The T9 integrates with Alexa, Google Assistant, and Honeywell’s smart home ecosystem, but does not natively support Apple HomeKit without workarounds.
- At $200-$250, the Honeywell Home T9 thermostat delivers strong value for older homes with temperature inconsistencies or different household schedules, with energy savings typically offsetting installation costs over time.
What Is The Honeywell Home T9 Thermostat?
The Honeywell Home T9 is a WiFi-enabled smart thermostat that replaces your existing wall unit and connects to your heating and cooling system. Think of it as the brain that talks to your HVAC equipment and learns when you want your home warmer or cooler. It’s not just a remote control for your furnace, it actively manages comfort by adjusting temperature based on occupancy and your preferences.
Unlike basic programmable thermostats that run on rigid weekly schedules, the T9 adapts. It includes a wireless room sensor that reports temperature and occupancy from anywhere in your home, so the system knows which areas matter most. If your bedroom is empty but your living room is packed, the T9 prioritizes the living room. That’s the real draw: it eliminates the “upstairs is freezing, downstairs is a sauna” problem that plagues most homes.
Setup uses a smartphone app, and the interface is straightforward, no tech jargon or confusing menus. You can adjust temperature, create schedules, set it to away mode, and check energy reports from anywhere. Honeywell also designed it to work with other smart home platforms, which we’ll cover in the compatibility section.
Key Features That Make It Stand Out
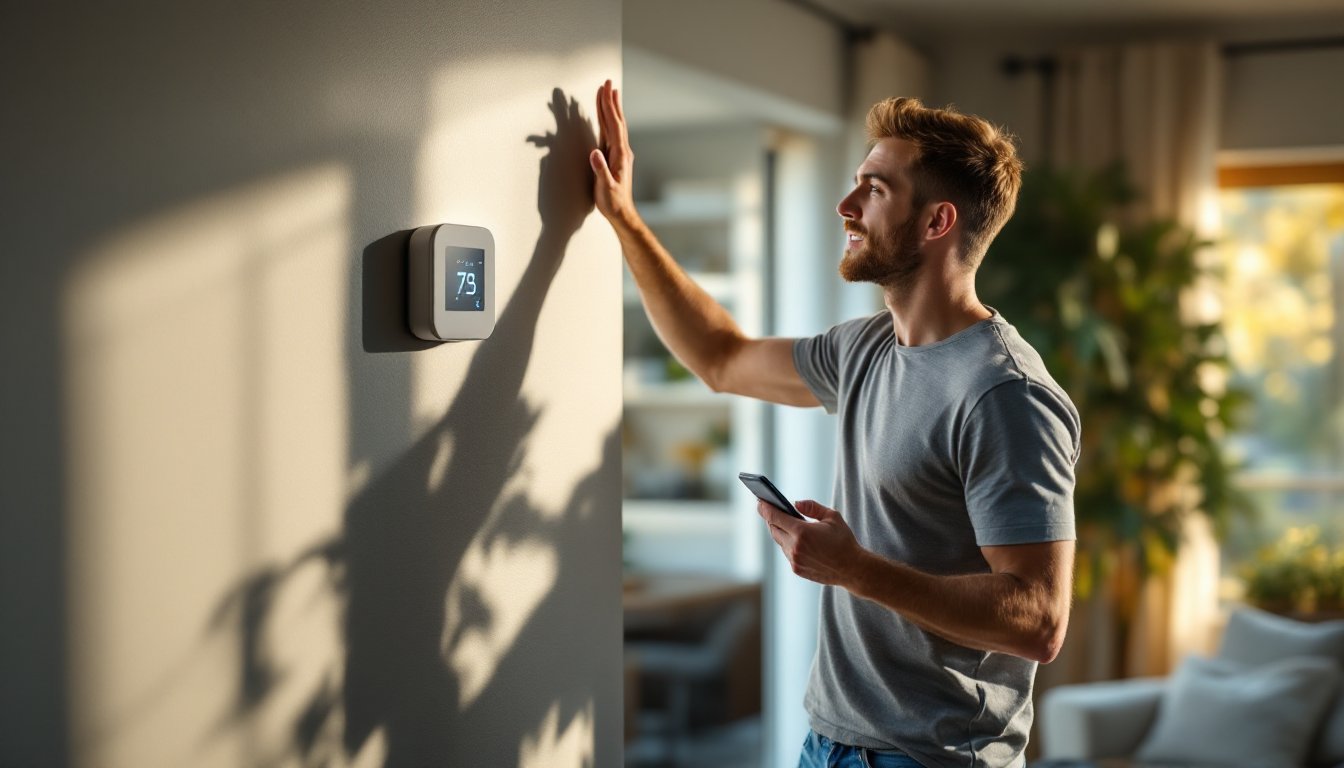
The T9 packs several practical features that justify the investment. Remote access is the obvious one: no more running downstairs to adjust the thermostat before bed or cranking heat while you’re still in the driveway. Energy reports show you how much you’re spending on heating and cooling, broken down by day and week. That transparency helps you spot wasteful patterns, like leaving the house in cooling mode or running heat when nobody’s home.
The geofencing feature uses your phone’s location to automatically switch modes. When everyone leaves, it goes into away mode and backs off on temperature. When the first person heads home, it preps the house. It sounds simple, but it actually cuts energy costs. The thermostat also works with remote sensors (sold separately) to monitor temperature in multiple rooms, giving you zone-level control without replacing ductwork.
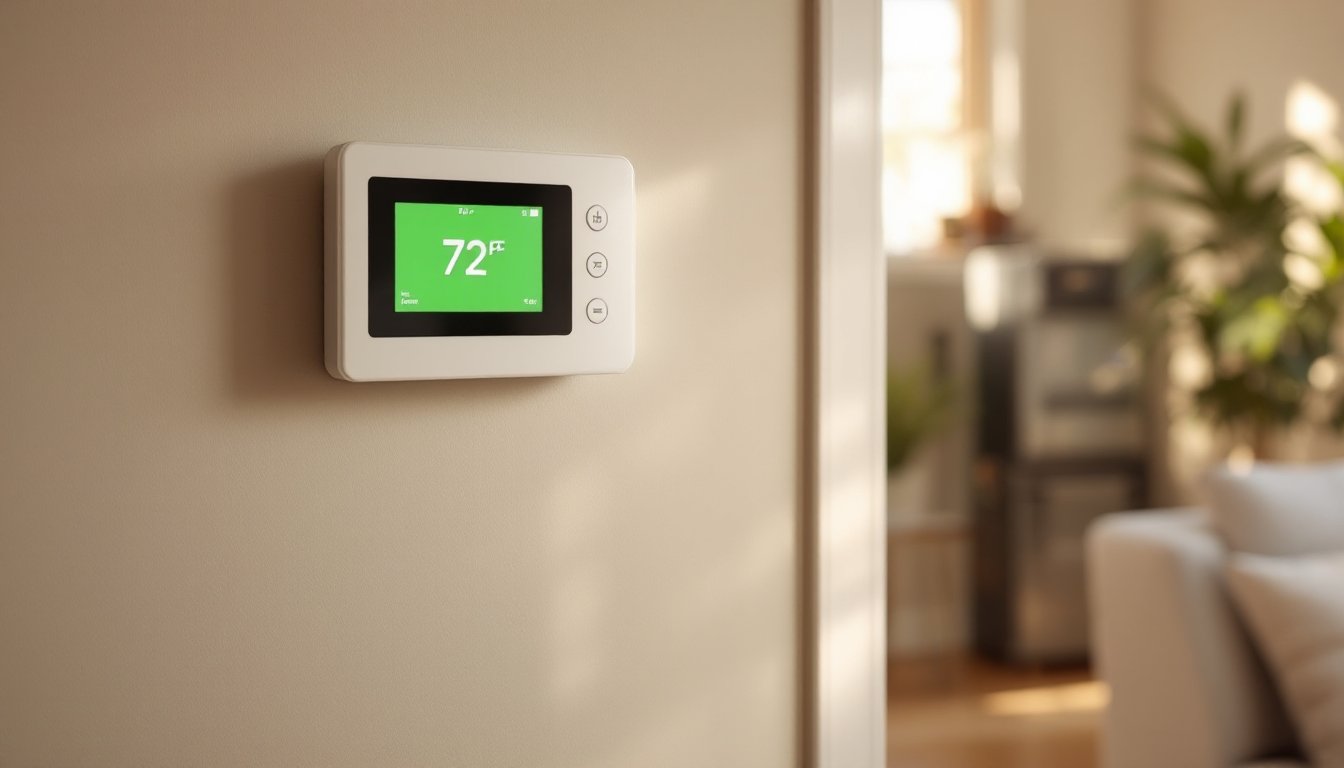
Voice control works with Alexa and Google Assistant, so you can adjust temperature by voice, convenient if your hands are full or you’re across the room. The display is clear and responsive, not one of those tiny screens that requires squinting.
Smart Room Sensors and Zoning
The standout feature is the included wireless room sensor. Place it in the bedroom, living room, or any space that matters, and the T9 learns when that room is occupied and what temperature you prefer there. The thermostat then balances heating and cooling between zones to match those preferences.
This is zoning without the $3,000+ cost of installing dampers and ductwork. It’s not as precise as a true multi-zone system, but it solves real problems. Cold bedrooms stay warmer. Hot home offices get cooled down. The system works by prioritizing the occupied room over others, which means you’re not conditioning empty spaces.
You can add extra sensors (again, sold separately) to monitor more rooms. Each sensor reports temperature and motion, and the T9 uses that data to decide where to direct airflow. For homes without major airflow problems, the single included sensor handles most needs. For older houses with layout quirks, a second sensor is worth considering.
Installation and Setup Process
Here’s the honest part: installation varies by your existing setup. If you have a standard forced-air system with a simple thermostat, you can handle this yourself in 20-30 minutes. If you have something unusual, a heat pump, radiant heating, or a two-stage furnace, read the manual or call a pro. Honeywell’s installation guide is solid, but mistakes here can disable your heating or cooling, so don’t skip it.
Before you start, turn off power at the breaker or furnace switch. Take a photo of your current wiring and note which wires connect to which terminals (R, W, Y, G, C). The T9 uses a C-wire (24V common), which provides continuous power. If your current thermostat doesn’t have one, the T9 includes a power module to work around that, another reason to check your setup first.
Remove the old thermostat and carefully disconnect each wire, labeling them as you go. Install the T9 base plate on the wall, making sure it’s level. Connect wires to the corresponding terminals on the base, then attach the thermostat unit. Turn power back on and follow the app to connect to your WiFi. The app walks you through your HVAC type (furnace, heat pump, etc.), which the thermostat uses to operate correctly.
This is straightforward if you’re comfortable with basic wiring. If you’re unsure, hire an HVAC tech for 30 minutes, cheaper than troubleshooting a non-working system. The T9 itself costs $200–$250, so a small installation fee isn’t the end of the world.
Compatibility and Integration
The Honeywell Home T9 works with most standard forced-air HVAC systems: furnaces, heat pumps, and air conditioners. Check your existing thermostat or furnace paperwork to confirm yours is compatible. The T9 also plays well with other smart home platforms. It integrates with Amazon Alexa and Google Assistant, so you can adjust temperature by voice. If you use Apple HomeKit, the T9 doesn’t natively support it, but workarounds exist through HomeKit hubs and automation tools.
Honeywell’s own ecosystem, products like smart home hubs and their other connected devices, offers seamless integration. If you already own Honeywell smart locks or security systems, the T9 syncs easily. You’re not locked into Honeywell, though. The T9 speaks standard WiFi and integrates with popular platforms, which is what you want in a device you’re installing inside your walls.
One note: The T9 relies on your home WiFi for remote access. If your WiFi is weak near the thermostat or drops frequently, remote features won’t work reliably. WiFi extenders or mesh systems help here. The thermostat still works locally (adjusting via the wall unit) even if WiFi goes down, so you’re not stranded without heat.
Is It Right for Your Home?
The T9 makes sense if you have uneven temperatures, energy bills you want to trim, or you just want phone control over heating and cooling. It’s not a magic bullet, no thermostat can fix a poorly insulated home or a furnace that’s dying, but it squeezes efficiency out of what you’ve got.
If your home is already well-zoned, well-sealed, and you’re happy with comfort, you might not see dramatic savings. The T9 shines in older homes with hot-and-cold spots or homes where people work different schedules. The room sensor does the heavy lifting here, prioritizing occupied spaces over empty ones. Smart home enthusiasts who want everything connected will appreciate the integration options. Homeowners who just want better control without learning curves will find the app intuitive.
Consider that smart home tech tools are becoming standard in modern homes, and what is smart home tech fundamentally includes climate control. The T9 is a practical entry point. For skeptics, the smart home tech vs traditional systems comparison can help weigh the trade-offs.
Budget $200–$250 for the thermostat itself. Installation by a pro adds another $100–$200, depending on your area and system complexity. Over time, most homeowners recoup that through energy savings, though results vary by climate and usage patterns. If you live in a hot or cold climate with high energy costs, payback is faster. Mild climates see slower returns. Product reviews from Tom’s Guide and smart home coverage at Digital Trends can help you see real-world performance data. Trusted home product testing at Good Housekeeping also evaluates smart home devices regularly.
Conclusion
The Honeywell Home T9 is a practical upgrade for most homes. It handles the core job, learning your habits, managing temperature, and letting you control things remotely, without unnecessary complexity. The room sensor adds genuine value, solving real comfort problems that standard thermostats ignore. Installation is doable yourself if you’re comfortable with wiring: otherwise, a brief pro visit pays for itself in peace of mind. If you’re tired of fighting hot and cold spots or want better visibility into energy use, it’s worth the investment.