Table of Contents
ToggleDometic refrigerators power RVs, boats, and off-grid cabins, but when something breaks, tracking down the right part can feel like hunting a needle in a haystack. Whether you’re staring at a faulty thermostat, a cracked freezer shelf, or a worn-out door seal, knowing which Dometic refrigerator parts you need and how to replace them saves time, frustration, and money. This guide walks you through identifying, ordering, and installing the most common replacement parts so you can get your fridge running again without unnecessary downtime.
Key Takeaways
- Dometic refrigerator parts like door seals, thermostats, and heating elements are affordable DIY replacements ($30–$200), but the sealed cooling unit requires professional service and EPA certification.
- Always locate and record your model number before ordering Dometic refrigerator parts, as compatibility varies significantly across model lines and decades of production.
- Door seals are the most common failure point in Dometic fridges; replacing them is straightforward and costs $30–$80, making it an ideal first DIY project for homeowners.
- Kill power to your RV or boat at the breaker and allow 30 minutes cool-down time before working on Dometic refrigerator components to prevent electrical shock and heat-related burns.
- Call a professional technician if you smell ammonia, see charred electrical components, or have warranty coverage, as DIY work on sealed systems or live circuits can be illegal and dangerous.
- Keep detailed records of your Dometic refrigerator’s model number, serial number, and replacement history to speed up warranty claims and future troubleshooting.
Understanding Your Dometic Refrigerator Components
Essential Parts and Their Functions
Dometic refrigerators operate on absorption cooling, which works differently from standard compressor-driven kitchen fridges. There’s no compressor whining away, instead, a heating element drives ammonia through sealed tubes to keep food cold. Understanding the main components helps you spot problems early.
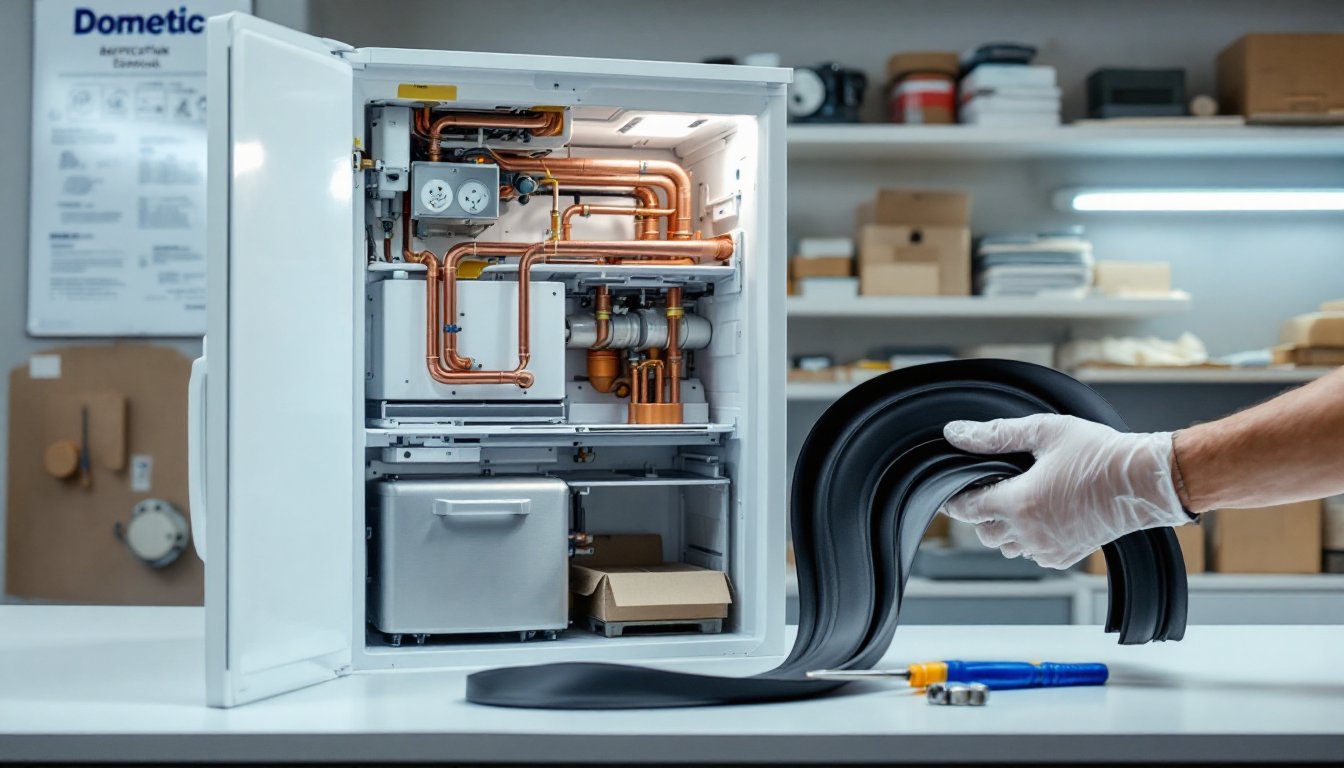
The cooling unit (or boiler) is the heart of an absorption fridge. It heats ammonia to create the cooling cycle. The condenser coil releases heat outdoors (critical for RVs and boats). The evaporator chills the interior cabinet. The thermostat controls temperature by regulating power to the heating element. Door seals, shelves, and fans are visible wear-and-tear items that fail more often than the core cooling system.
Most DIY repairs involve these secondary parts. The cooling unit itself requires manufacturer expertise: don’t attempt a DIY replacement unless you’re comfortable with sealed system work and local refrigerant regulations. Know your model number before ordering anything, it’s usually on a sticker inside the fridge. Dometic’s catalog spans decades, and part compatibility varies wildly across model lines.
Common Dometic Refrigerator Parts That Need Replacement
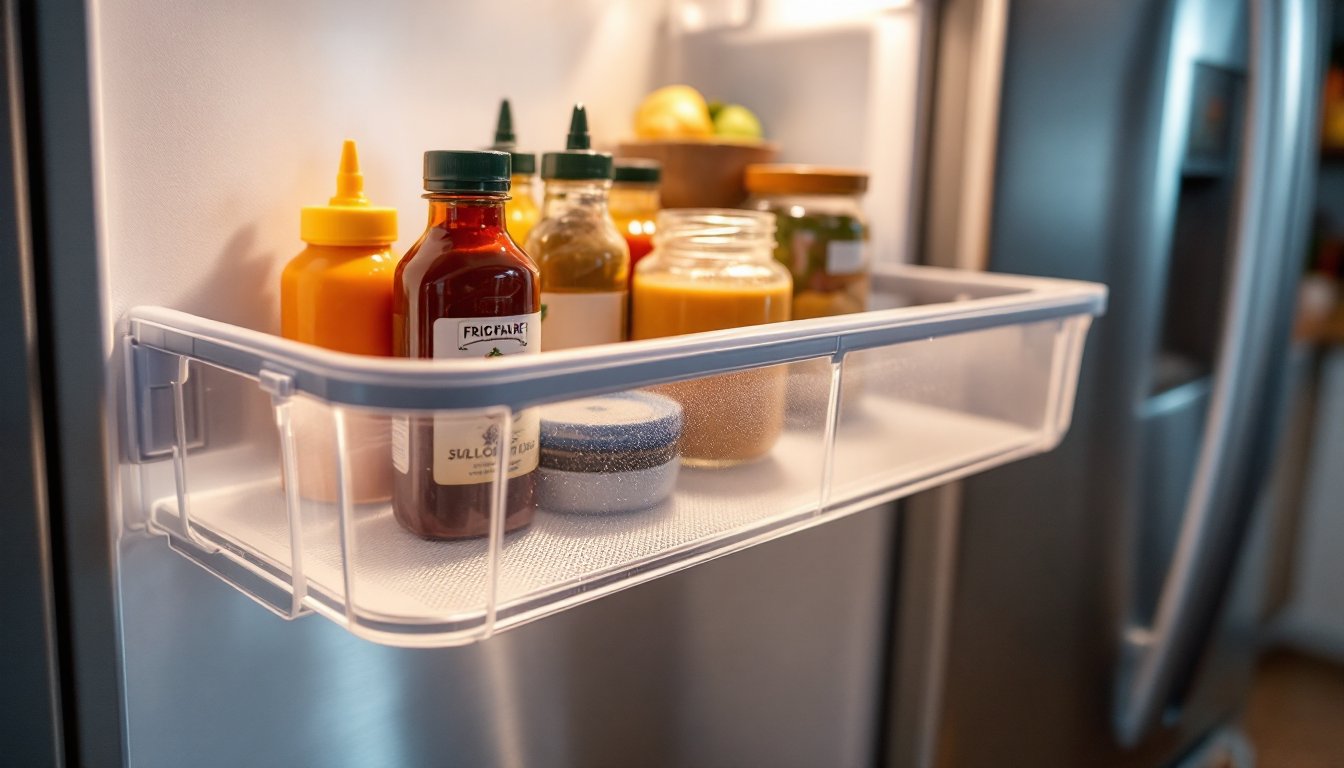
Door seals (gaskets) are the most common culprit. If your fridge runs constantly or frost builds up inside, a worn seal is usually the cause. They’re $30–$80 depending on model and deteriorate from heat cycles, UV exposure, and regular opening and closing.
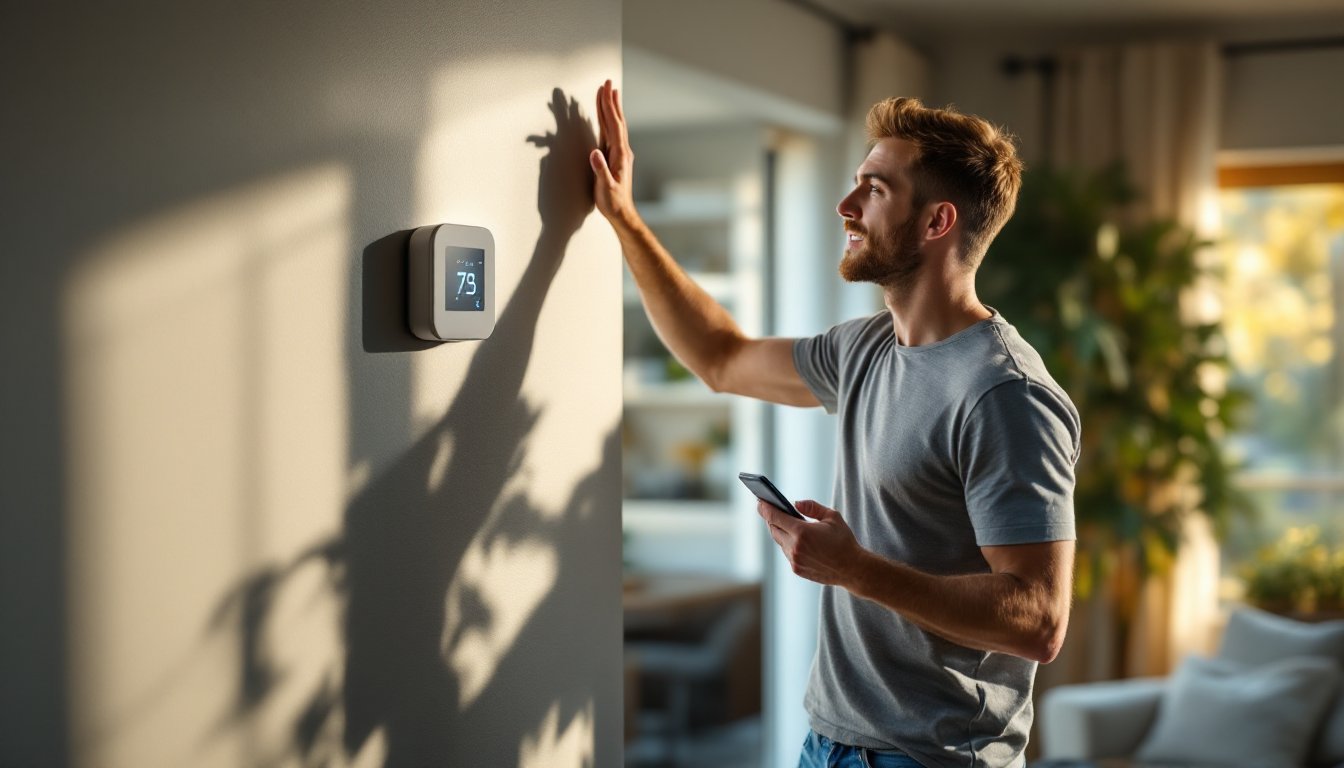
Thermostats regulate temperature. If your fridge won’t cool properly or stays freezing cold, the thermostat might be stuck or malfunctioning. Replacement units run $40–$120 and are straightforward swaps on most models.
Heating elements fail over time, especially in RVs that cycle between 12V and 110V power. A bad element means no cooling. Expect to pay $80–$200, depending on voltage and model.
Shelves, drawers, and baskets crack or warp. Dometic sells replacements, typically $20–$60 each. These are purely cosmetic but impact usability.
Fans (in frost-free models) keep air circulating. Loud grinding or no cooling airflow signals a fan failure. Parts run $50–$150.
Absorption cooling units (the sealed system) are expensive ($300–$800) and require professional replacement in most cases. They’re rarely a DIY job.
How to Identify and Order the Right Parts for Your Model
Your model number is essential, don’t skip this step. Locate the serial plate inside the fridge (usually left wall or ceiling area). Write down the full model number: it’ll look something like RM2356 or N402.3. XT. Write down the date code too: it helps identify the exact generation.
Once you have the model number, cross-reference Dometic’s official website or authorized dealer parts catalogs. Popular third-party RV parts retailers like The Kitchn offers kitchen appliance reviews that can point you toward trusted Dometic suppliers. Avoid generic online marketplaces when possible, counterfeit parts exist, and fitment errors are common.
Call a dealer if you’re unsure. Dometic has a network of service centers: they’ll verify part numbers and shipping times. Have your model number, serial number, and a description of the problem ready. Most dealers can ship parts within 3–7 business days. Order gasket sets, not individual seals, to save money and ensure you have matching replacements.
Keep a spreadsheet of your fridge’s details: model, serial number, purchase date, parts you’ve replaced, and purchase receipts. This saves hours if you need warranty service or troubleshooting.
DIY Replacement Tips for Homeowners
Tools and Safety Precautions You’ll Need
Most Dometic part replacements require basic tools: a Phillips and flathead screwdriver set, a needle-nose pliers, an adjustable wrench, and sometimes a socket wrench set. Some models need a spade bit or hole saw if you’re routing wiring. Keep a flashlight handy, RV and boat fridges are dark inside.
Safety first. Before touching anything inside, kill the power at your breaker or disconnect the 12V battery and shore power. Don’t work on the fridge while it’s energized: there’s risk of shock or accidentally powering a compressor fan. Wear safety glasses when working overhead (debris from old seals or ductwork). If you’re handling the cooling unit or any sealed lines, wear latex gloves to avoid skin oils contaminating the system.
Allow the fridge to sit unpowered for at least 30 minutes before opening sealed areas. Absorption units trap heat and can cause burns.
Replacing a door seal is the easiest entry project. Remove the old gasket by unclipping or unscrewing it around the perimeter (usually 4–8 clips or screws). Clean the groove with a damp cloth to remove debris. Snap or screw the new gasket in place, checking that it seats evenly. Some seals need gentle heat (a heat gun on low) to soften them before fitting.
Thermostat replacement involves disconnecting a wire harness and unscrewing a bracket. New ones plug right in. Mark your wires with tape so you don’t mix them up. Dometic thermostats are rarely complex: most swap in under 15 minutes.
Heating element swaps vary by model. Some sit in accessible wells at the fridge base: others require partial disassembly. Check your manual. Expect 45 minutes to 2 hours. Turn off power, let it cool, disconnect the old element, and plug in the new one. Don’t force connections.
When to Call a Professional vs. DIY Repairs
Stay in your lane. If you’re comfortable with a screwdriver and basic electrical safety, door seals, thermostats, and fans are your wheelhouse. Family Handyman’s DIY repair tutorials show how straightforward many fridge repairs can be.
Call a professional if:
- The cooling unit needs replacement. Sealed systems require EPA certification and proper refrigerant recovery. Attempting this without licensing is illegal in many jurisdictions and will void your warranty.
- You smell ammonia. A leak in the sealed system is dangerous and requires immediate professional service. Evacuate the area and contact a technician.
- Electrical components are burned or charred. Don’t troubleshoot live circuits in a confined RV or boat space.
- Your fridge is under warranty. DIY work voids coverage on many models. Call the dealer instead.
- You’re unsure about power requirements. If you don’t know whether your replacement unit runs on 12V, 110V, or both, ask a pro before buying.
Regional costs vary, but professional Dometic service typically runs $150–$300 for a house call plus parts. Compare that against the cost of a bad DIY repair, a flooded cooling unit or electrical fire is far more expensive. Be honest about your comfort level. Popular Mechanics has hands-on DIY tutorials for projects with higher stakes, but sometimes calling in a licensed technician is the right call.
If you’re in an RV or boat, your dealer service center often has a faster turnaround than independent shops. Build that relationship early: they’ll remember your fridge’s quirks for future service.