Table of Contents
ToggleA garden window, that boxy, shelf-like projection that juts out from your kitchen or bathroom wall, is practical and charming until it isn’t. Condensation pools between the panes. The frame rots. The sash sticks, or worse, doesn’t seal anymore. When your garden window stops keeping the weather out and the heat in, replacement becomes unavoidable. The good news: with proper prep, the right tools, and honest assessment of your skill level, many homeowners can handle this project themselves. This guide walks you through everything from spotting when replacement is necessary to installing your new window with confidence.
Key Takeaways
- Garden window replacement becomes necessary when condensation appears between panes, frames rot, or air leaks develop—indicators that the thermal seal has failed and the window cannot be repaired.
- Vinyl, fiberglass, and wood are the primary frame materials; vinyl is budget-friendly and low-maintenance, while fiberglass offers better insulation, and wood provides superior thermal performance but requires regular upkeep.
- Modern garden windows with double-pane insulated glass and Low-E coatings significantly improve energy efficiency and can offset higher upfront costs through reduced utility bills over time.
- Proper preparation—measuring the rough opening, installing flashing tape, leveling the sill, and plumbing the sides—is critical to a successful garden window replacement and prevents water damage.
- After installation, allow exterior caulk 24–48 hours to cure and ensure weep holes remain uncaulked to allow proper drainage of condensation inside the frame.
What Is a Garden Window and Why Replace It?
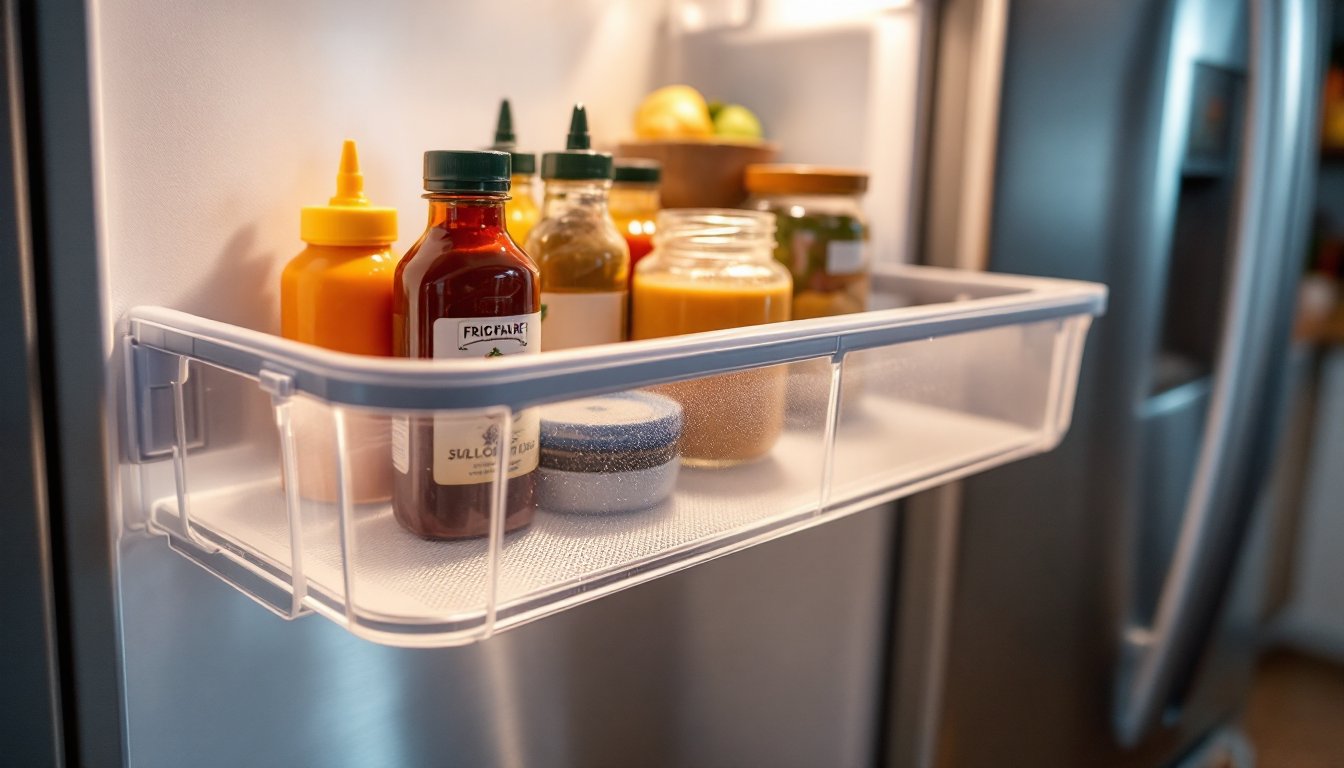
A garden window is a projecting window unit that extends outward from the exterior wall, typically 8 to 12 inches. It sits on its own frame or support structure and has shelves built into the interior, making it ideal for potted plants, herbs, or seasonal decor. Unlike a standard double-hung or casement window, a garden window adds depth to a room and provides 360-degree views, three exterior-facing panes plus the sloped roof.
Replacement becomes necessary when structural damage or thermal performance degrades. Old garden windows, especially those installed 15–20 years ago, often lose their seal, allowing air infiltration and moisture between the glass panes. Wood frames swell with water absorption, making operation difficult or impossible. If your energy bills spike or drafts are visible around the frame, your garden window’s insulating value is gone. In some cases, the glass seal fails silently for years before you notice it.
Signs Your Garden Window Needs Replacement
Watch for these red flags:
• Condensation between panes. This means the seal is broken. The window cannot be repaired, only replaced.
• Visible water damage or soft wood around the frame or sill.
• Air leaks. Feel drafts with your hand on a cold day, or notice frost forming inside the frame.
• Difficulty opening or closing. Swollen wood from moisture means the sash is binding and won’t operate smoothly.
• Cracks in glass or missing caulk around the exterior perimeter.
• Visible rot or mold on the interior or exterior frame.
Some garden windows can be resealed with new glazing compound or caulk if the frame is solid, but if the thermal seal between panes is compromised or the frame is structural unsound, replacement is your only reliable fix. Temporary patches delay the inevitable and risk further water damage to the wall cavity.
Choosing the Right Replacement Garden Window
Before you order, confirm your opening size. Measure the width, height, and depth of your current frame (rough opening dimensions, not the sash size). Most garden windows come in standard widths, 32, 36, 40, or 48 inches, but depth and height vary. Take photos and measurements to a home center or window supplier.
Think about whether this is cosmetic upgrade or structural repair. If your wall is rotting behind the window, you’re looking at substrate repair, siding, sheathing, framing, which may require a contractor or building permit. Check your local jurisdiction’s requirements: some areas require permits for window replacement, others don’t.
Material and Frame Options
Vinyl frames (PVC) are the budget-friendly choice. They don’t rot, resist moisture, and require minimal maintenance. Downsides: they can warp in extreme heat, and thermal performance is moderate compared to other materials.
Fiberglass composite frames offer better insulation than vinyl and won’t warp. They’re pricier but durable and hold paint well if you prefer a finished look.
Wood frames remain classic and provide superior insulation, but they demand regular painting or staining and are vulnerable to rot if not maintained. Only choose wood if you’re committed to seasonal upkeep.
Aluminum or hybrid frames (aluminum exterior, wood or composite interior) balance aesthetics and performance but cost more. According to window replacement pricing data, garden window replacements range from $1,000 to $4,000 depending on material and installation complexity.
For glass, modern options include double-pane insulated units with low-emissivity (Low-E) coating, which reflects heat in summer and retains warmth in winter. Argon gas between panes boosts insulation. These upgrades improve energy efficiency noticeably over single-pane or older double-pane windows and can offset the higher upfront cost through lower utility bills over time.
Tools and Materials You’ll Need
Tools:
• Reciprocating saw or oscillating multi-tool (for cutting caulk and trim)
• Pry bar and hammer
• Utility knife
• Measuring tape and level (a 2-foot level is ideal)
• Caulking gun
• Drill-driver
• Safety glasses, work gloves, and N95 mask (for dust during removal)
Materials:
• Shims (wooden wedges for leveling)
• Spray foam insulation or fiberglass batt insulation
• Exterior caulk (silicone or urethane, rated for your climate)
• Interior caulk or paintable caulk (matched to trim color if painting)
• Flashing tape (if exterior trim is missing or damaged)
• Drop cloth or plastic sheeting
• Garden window unit (pre-ordered, with rough opening size confirmed)
Read your new window’s manual before you start. Installation details vary slightly by manufacturer, and you’ll want to know whether the unit comes with nailing fins, how flashing should overlap, and what sealants the warranty covers.
Removing Your Old Garden Window
Removal is destructive but straightforward. Your goal is to extract the old unit without damaging the wall framing around it.
Step 1: Clear the area. Remove the interior shelf, decor, and plants. Lay down a drop cloth inside and outside the window to catch debris.
Step 2: Cut and remove interior trim. Use a utility knife to cut the caulk joint between the window frame and interior drywall or trim. Pry gently with a flat bar. Take photos of how the trim is layered, you’ll reinstall it the same way.
Step 3: Cut exterior caulk. On the outside, cut the caulk bead around the frame with a reciprocating saw or oscillating tool. This separates the frame from the siding and flashing.
Step 4: Remove fasteners. Look for screws or nails along the nailing flange (the flange is the thin lip where the frame meets the opening). Remove them all. If nails are stubborn, use a reciprocating saw to cut them from the inside.
Step 5: Extract the old frame. With fasteners out, carefully work a pry bar under the frame and lift. Garden windows are heavy, expect 80–120 lbs. Don’t yank suddenly: wiggle it free gradually. A second pair of hands makes this safer and faster. If the frame is stuck due to paint or caulk buildup, run your utility knife around the perimeter again.
Step 6: Inspect and prep the opening. Once the old window is out, check the rough opening framing for rot, water damage, or insects. If framing is soft or spongy, that’s a sign of significant moisture intrusion, stop and call a contractor. If framing is solid, scrape away old caulk and debris. The opening should be relatively clean, square (within 1/8-inch across the top and sides), and level.
Installing Your New Garden Window
Step 1: Check the opening dimensions. Measure the rough opening width at three points (top, middle, bottom) and height at three points (left, center, right). The new window should fit with 1/4-inch clearance on all sides for shims and expansion. If the opening is out of square by more than 1/2-inch, you may need to adjust framing, this is a job for a contractor.
Step 2: Install flashing tape. If your window comes with a nailing fin but the old flashing is missing or damaged, install flashing tape around the opening first. This prevents water from sneaking behind the frame. Modern windows often have integrated flashing, follow the manufacturer’s diagram.
Step 3: Position the new window. With help, lift the new unit into the opening and center it. Use shims to level the sill (the bottom horizontal piece). Check with a 2-foot level. The sill must be perfectly level or water will pool inside.
Step 4: Plumb and square the sides. Place shims behind the vertical jambs (sides) and check for plumb with a level. The frame should be square, measure diagonally corner to corner: both measurements should be equal within 1/8-inch. Drive one nail through the nailing fin at the top corner, then adjust shims and drive nails down one side. Repeat on the other side.
Step 5: Secure the frame. Once plumbed and squared, drive nails or screws every 12 inches around the perimeter. Don’t overdrive, the frame needs slight flex. Check your manufacturer’s specs for fastener spacing and type. Expert resources like Fine Homebuilding offer detailed framing diagrams if your window’s instructions are unclear.
Step 6: Insulate around the frame. Fill the gap between the frame and rough opening with spray foam or fiberglass batts. Spray foam is faster and fills voids better, but it can bow the frame if applied too aggressively, use minimal expanding formula and don’t overfill. Trim excess foam with a utility knife after it cures (usually 8 hours).
Step 7: Seal and caulk. On the exterior, run a continuous bead of exterior caulk (silicone or urethane) along the frame perimeter, where the nailing fin meets the siding or flashing. Inside, caulk the seams between the frame and drywall with paintable caulk. Don’t caulk the weep holes at the sill bottom, these drain condensation.
Step 8: Reinstall interior trim. Reinstall the interior trim or casing you removed earlier. If the old trim is damaged or you prefer an updated look, nail new trim around the frame and caulk the joints.
Step 9: Test operation and clean up. Open and close the sashes and shelves a few times to confirm smooth operation. Clean the glass inside and out. Let exterior caulk cure for 24–48 hours before exposing it to rain. For guidance on hiring professionals if you feel out of depth, Angi’s contractor reviews can connect you with vetted window installers in your area.