Table of Contents
ToggleA working water filter in your Hisense refrigerator keeps your drinking water and ice maker clean, but most homeowners ignore it until the filter indicator blinks red. Replacing your Hisense refrigerator water filter is one of the simplest appliance maintenance tasks you can tackle yourself, no special tools, no plumbing license, and often no more than five minutes of your time. This guide walks you through identifying your filter model, performing a safe replacement, and staying on top of maintenance so you’re not caught with cloudy water or a clogged dispenser. Whether you’re replacing your filter for the first time or you’re a seasoned DIY homeowner, this straightforward process will have fresh water flowing again in no time.
Key Takeaways
- Replacing your Hisense refrigerator water filter is a simple 5-10 minute DIY task that requires no special tools and protects your water quality and appliance lifespan.
- Identify your correct filter model by checking the label on the filter housing, your manual, or your refrigerator’s model number to avoid purchasing the wrong cartridge.
- Change your Hisense water filter every 6 months or sooner if you notice slow water dispensing, cloudy ice, or unpleasant tastes caused by sediment and contaminant buildup.
- Follow the step-by-step replacement process: depressurize the line, rotate the old filter counterclockwise, insert the new filter, rotate it clockwise until it clicks, and flush for 30 seconds.
- Reset the filter indicator light after installation and set calendar reminders to stay on schedule, purchasing genuine filters from authorized retailers to avoid counterfeit products.
- Store replacement filters in cool, dry conditions away from sunlight and keep your model number handy for future replacements to maintain consistent water pressure and ice clarity.
Why Your Hisense Water Filter Matters
Your refrigerator’s water filter does real work. It removes sediment, chlorine, odors, and some contaminants from your tap water before it reaches your glass or ice maker. Hisense filters are designed to handle roughly 6 months of use, though that timeline depends on your local water quality and daily usage.
Ignoring a clogged or overdue filter leads to several problems. Cloudy ice, slow water dispensing, and unpleasant tastes are the obvious ones. Less obvious: bacteria and mold can grow on a dirty filter, and sediment buildup can damage your refrigerator’s internal lines over time. Some areas have hard water or higher sediment loads, so your filter may need replacing more often than the standard 6-month schedule suggests.
Hisense includes a filter indicator light on most models to remove the guesswork. When that light turns red or your model shows a “replace filter” message, don’t ignore it. The filter isn’t just dirty at that point, it’s been working at reduced capacity and may let unfiltered water through. Replacing it promptly keeps your water fresh and protects your appliance’s internal components.
How to Identify Your Filter Model
Hisense makes several refrigerator models, and each one uses a specific filter cartridge. Using the wrong filter is a waste of money and won’t fit properly. Identifying your correct model takes two minutes and saves you a frustrating return trip.
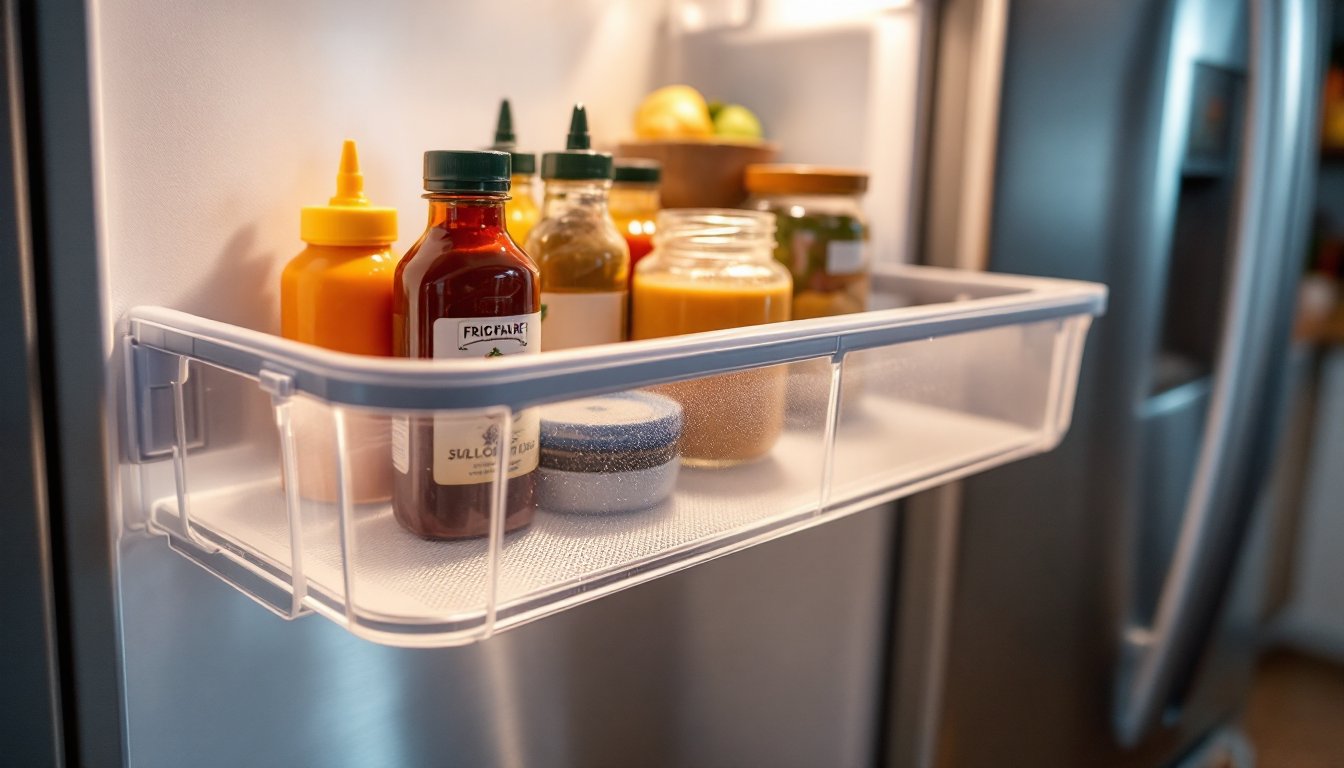
Start by checking the filter compartment itself. Most Hisense refrigerators have a clearly marked label on or near the filter housing that lists the compatible filter model number. Open the fridge, locate the filter (usually in the upper right corner, upper left, or inside the door), and look for a sticker or printed label. You’ll see something like RB-H32 or RSBS34, which is your model identifier.
If you can’t find the label on the filter housing, check your refrigerator’s user manual or the back cover of the refrigerator itself. You can also note your full refrigerator model number (found on the label inside the fridge or on the back) and look it up on the Hisense website or call their customer service line. The Kitchn and similar home appliance guides often have cross-reference charts for Hisense models if you want a quick lookup online. Snap a photo of the model number with your phone and keep it in your notes, you’ll use it again when you need your next filter in six months.
Step-by-Step Replacement Process
Tools and Materials You’ll Need
Here’s the good news: you don’t need much. Grab your replacement Hisense filter cartridge (confirm the model number before ordering), and you’re nearly done.
Optional but handy:
• A clean cloth or paper towel to catch drips
• A small cup or bowl to place under the filter compartment
• Your refrigerator’s manual (for reference if anything seems stuck)
That’s it. No special tools, no adapters, no electrical shutoffs. Most Hisense filters use a simple push-twist mechanism that requires only your hands.
Replacing Your Filter Safely
Before you start, let your refrigerator run for a few minutes without the filter dispensing water. This reduces pressure in the line and minimizes spills when you remove the old cartridge.
-
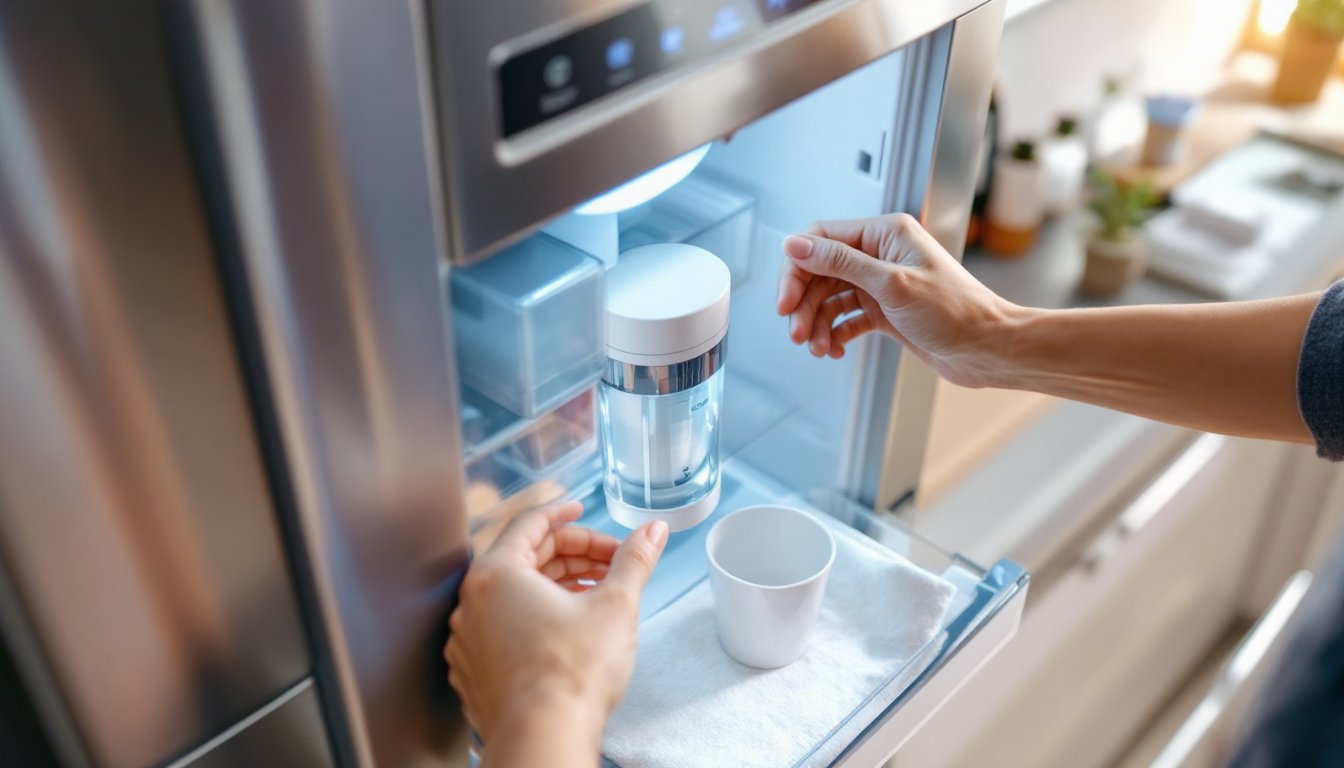
Locate the filter compartment. Open your refrigerator and find the filter housing. On most Hisense models, you’ll see a cylindrical cartridge in the upper corner, inside the door, or occasionally under a drawer. The exact location varies by model, so check your manual if you’re unsure.
-
Place your catch container underneath. Even though you depressurized the line, a bit of water may drip when you twist the cartridge out. A small cup or cloth underneath protects your floor.
-
Rotate the old filter counterclockwise. Grip the filter body (not the ends) and turn it gently to the left. You should feel it loosen after a quarter turn. Continue rotating slowly until the filter comes free. Don’t yank it, a steady, controlled rotation prevents damage to the housing threads.
-
Remove the old cartridge and inspect the housing. Check inside the filter compartment for any debris, sediment, or mineral buildup. A damp cloth can wipe away anything visible. This quick clean-up ensures your new filter performs optimally.
-
Prepare the new filter. Remove the new cartridge from its packaging. Some Hisense filters come with a protective cap or seal, remove any plastic covers before installation. Do not soak or rinse the new filter unless the manual specifies otherwise: you’ll wash away the activated carbon media that does the actual filtering.
-
Insert and rotate the new filter clockwise. Line up the filter cartridge with the housing slot and push it in gently. Once seated, rotate the filter clockwise until it stops. You should feel mild resistance, don’t force it, as the threads will stop naturally. Most filters click or snap when fully seated. CNET’s appliance guides show that properly seated filters are key to preventing leaks.
-
Run water for 30 seconds to flush the system. This removes air from the new filter and any residual sediment. Your water may appear slightly cloudy for a moment, that’s normal and harmless. A few seconds of flushing clears it right up.
-
Reset the filter indicator light. Most Hisense refrigerators have a button or menu option to reset the filter counter. Check your manual for the exact steps: it’s usually a simple press-and-hold on the control panel or a menu setting. Resetting the light ensures your reminder system syncs with your new filter’s lifespan.
You’re done. The whole job takes five to ten minutes, even if you’re doing it for the first time.
Maintaining Your Water Filter
Replacing your filter on schedule is the foundation of maintenance, but a few additional habits extend your filter’s lifespan and keep your water quality consistent. Set a calendar reminder for six months after each replacement, or set it for five months if you have particularly hard or sediment-heavy water. This prevents the panic of forgetting until the light turns red and your water pressure drops.
If you notice water dispensing slowly before six months have passed, your filter may be clogged prematurely. Hard water, high sediment levels, or heavy daily use can reduce filter life. In these cases, don’t wait, replace it early. Pushing a filter beyond its capacity wastes electricity as your refrigerator works harder to push water through a blocked cartridge.
Store replacement filters in a cool, dry place away from sunlight. Excessive heat can degrade the filter media over time, even in unopened packaging. Keep your current filter model number and order your next filter a week or two before you expect to replace it. This prevents scrambling to find the right cartridge when the indicator light finally comes on. Good Housekeeping’s appliance recommendations emphasize that stocking your next filter in advance is the simplest maintenance step most homeowners skip.
If you’re ordering online, buy directly from Hisense or a major appliance retailer to ensure you’re getting a genuine cartridge, not a counterfeit or inferior knockoff. Fake filters are common online and provide poor filtration, leak, or even damage your refrigerator’s internal lines.
Conclusion
Replacing your Hisense refrigerator water filter is a straightforward task that takes minutes and costs far less than a service call or a new refrigerator. Identify your model, grab the correct cartridge, twist out the old one, and twist in the new one. Reset the indicator light, flush the line, and you’re finished. Stick to a six-month replacement schedule (or sooner if your water pressure drops), and your Hisense will deliver clean, fresh water and crystal-clear ice for years to come.