Table of Contents
ToggleWater softeners are investment pieces that protect plumbing, appliances, and even your skin from hard water damage. But when something goes wrong, homeowners often panic, cloudy water, sluggish flow, or strange smells can feel like expensive disasters waiting to happen. The good news: most water softener problems stem from maintenance oversights or simple mechanical hiccups that you can diagnose and fix yourself. Understanding the common culprits behind water softener issues puts you in control of troubleshooting before calling a service technician. This guide walks you through the most frequent water softener problems and the straightforward fixes that get your system running smoothly again.
Key Takeaways
- Water softener problems like salt bridges, low pressure, and failed regeneration cycles are often fixable with basic maintenance, saving you costly technician calls.
- A clogged sediment filter is the most common cause of weak water pressure after softener installation—replacing it typically restores 80% of lost flow for just $15–$40.
- Salt bridges form from humidity clumping pellets together; manually break them with a gentle tap from a broom handle, then switch to rock salt or high-quality evaporated salt to prevent recurrence.
- Resin bed fouling and bacterial growth in your softener tank require professional cleaning ($400–$800 for replacement) or sanitization with diluted bleach for early-stage slime issues.
- Check your float valve and drain line if the salt tank overflows during regeneration—a stuck float or blocked drain line are the primary culprits behind this water softener problem.
Hard Water Buildup and Salt Bridge Formation
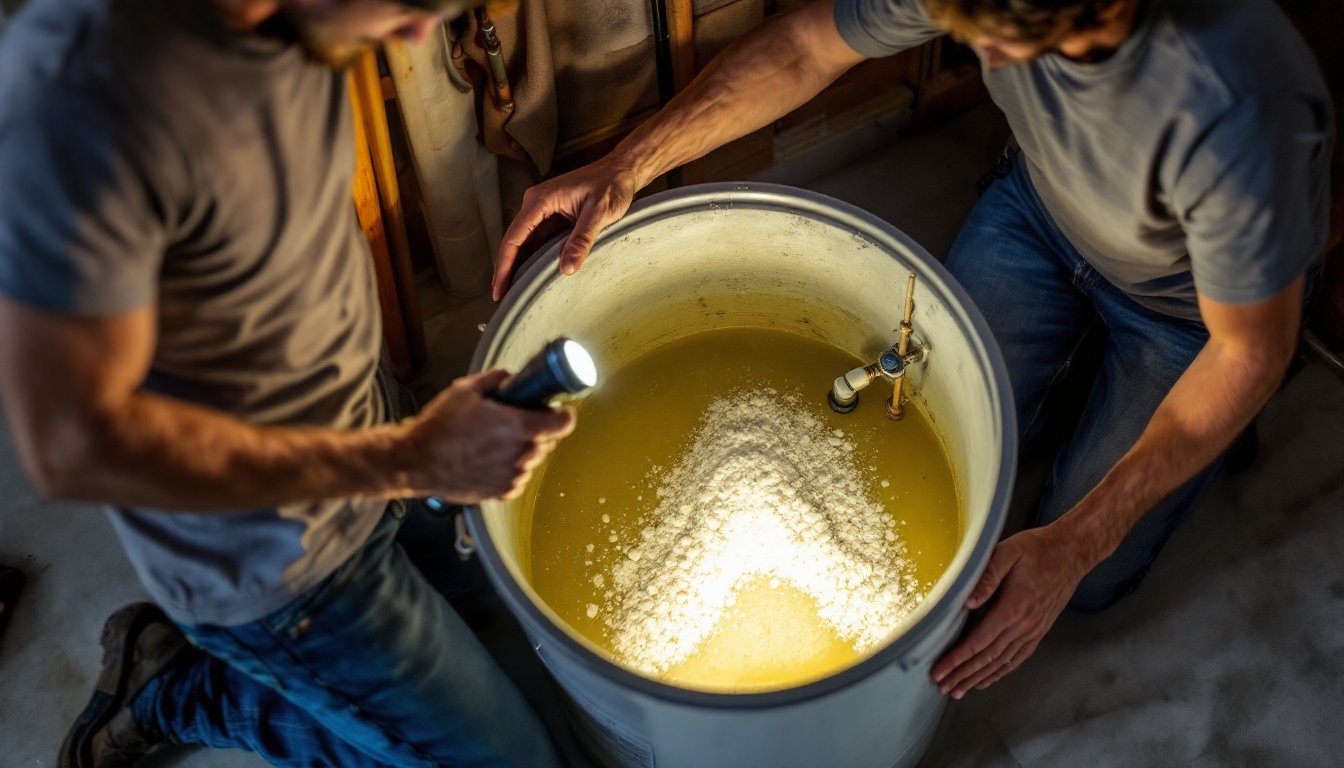
One of the sneakiest water softener problems shows up as failing to soften water even though salt in the tank. This happens when salt hardens into a crusty bridge above the water level, preventing fresh brine from mixing properly. Salt bridges form when humidity causes salt pellets to clump and fuse together, think of rock candy forming inside your tank.
You’ll notice hard water symptoms returning: spotty dishes, chalky shower residue, or stiff laundry. The tank looks full of salt, but no actual regeneration happens. To fix this, break the bridge manually using a broom handle. Turn off the system, open the tank access, and gently tap the crusty salt with a wooden pole from above. Don’t strike hard, aggressive poking can damage the tank interior.
After breaking the bridge, you may need to remove the mushed salt at the bottom. Scoop it out with a small bucket or wet/dry shop vac, then refill with new pellets. Prevent future bridges by storing salt in a cool, dry area before loading the tank, and consider switching to rock salt in humid climates, it’s less prone to bridging than pelletized varieties. High-quality evaporated salt performs better in most regions.
Low Water Pressure and Flow Rate Issues
Weak water pressure after installing or servicing a softener frustrates homeowners quickly. The culprit is usually a clogged resin bed or a plugged incoming sediment filter. Hard water minerals don’t get removed: they accumulate on resin beads and restrict water flow over time.
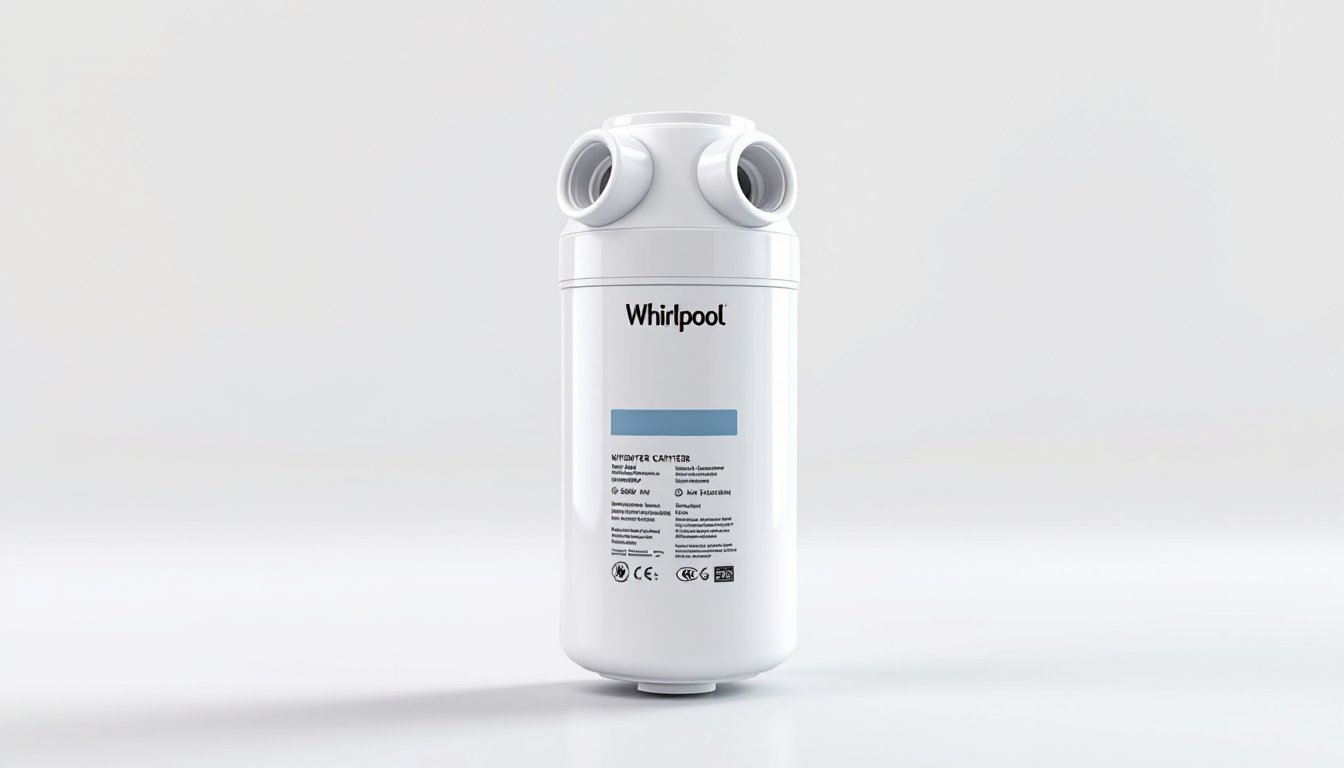
Start by checking your sediment filter, this pre-filter catches larger particles before they reach the softener. According to maintenance checklists from Today’s Homeowner, replacing a clogged sediment filter (typically a 5-micron cartridge) often restores 80% of lost flow. Filters cost $15–$40 and take five minutes to swap. Twist the housing counterclockwise, pull out the old cartridge, and insert a new one rated for your system’s GPM (gallons per minute).
If pressure remains low after filter replacement, the resin bed itself may be fouled. Some systems include a manual backwash valve, check your manual. Position the valve to “backwash,” run water backward through the tank for 3–5 minutes until it runs clear, then switch to “rinse” and run another minute. This reverses accumulated sediment without chemicals.
For persistent low flow, a professional resin bed cleaning with specialty cleaners may be necessary. This isn’t a DIY fix, resin tank cleaners use solvents that require careful handling.
Resin Tank Problems and Regeneration Cycles
Regeneration is when the softener “recharges” itself by flushing salt brine through the resin bed to restore its softening capacity. When regeneration cycles fail or run constantly, water softener troubleshooting points toward controller problems, clogged control valves, or a broken resin bed.
Check your controller’s display or logs. If it’s running regeneration every few hours instead of every 3–7 days, the system thinks it’s exhausted even when it shouldn’t be. Possible causes: a malfunctioning flow meter, incorrect hardness settings, or a bad water level sensor. Review your manual to reset the hardness setting, many homeowners accidentally program their system for much harder water than they actually have, triggering premature recharges.
Listen during regeneration. You should hear water flowing, valves clicking, and a motor humming (if your system has one). Dead silence often means a stuck control valve or a failed solenoid. These parts are replaceable but require mechanical skill and specific tools, a job better left to a technician.
Understanding Resin Bed Fouling
Resin beads break down over 10–15 years, especially in hot climates or with high chlorine in city water. When resin fragments enter your pipes, you’ll spot dark particles in water or reduced softening. Small beads lodge in the distributor tube, choking flow and regeneration efficiency.
Fouling happens gradually and is hard to reverse at home. Microscopic cracks in resin release tiny particles that accumulate in the tank’s underbody. Professional resin cleaning can extend life, but eventually, replacement becomes necessary, typically a $400–$800 part and labor cost.
Unusual Odors and Slime Growth
If your water smells like rotten eggs or sewage, your softener isn’t the cause, but it might be making the problem worse by creating an ideal breeding ground for sulfur bacteria. These microbes thrive in low-oxygen, mineral-heavy environments. Similarly, pink or orange slime appearing inside the tank signals bacterial growth, not a filter failure.
Bacteria enter through the brine line when tanks aren’t sealed properly or during service breaks. To address this, plumbing guides from Family Handyman recommend sanitizing the tank with diluted bleach. Turn off the system, remove the top, and pour one cup of unscented household bleach into the brine tank. Run a manual regeneration cycle to flush it through. Repeat if needed. Always use unscented bleach, additives can damage resin.
For odors originating from your well or city water, a separate carbon filter on your main line handles sulfur compounds more effectively than a softener can. Check your pre-filter first, a saturated carbon stage stops working after 6–12 months depending on usage.
Prevent slime by ensuring proper brine tank drainage and using quality salt without additives. Store salt pellets in a dry place, moisture promotes bacterial colonies. If slime returns repeatedly, inspect the tank’s inlet line for cracks or loose connections allowing water to stagnate.
Salt Tank Maintenance and Overflow Issues
A softener salt tank overflowing during regeneration wastes salt and indicates a blocked drain line or a malfunctioning float valve. The float valve sits inside the tank and shuts off water when brine reaches the correct level: if it sticks or breaks, water keeps flowing.
Inspect the drain line first, a small tube running from the bottom of the salt tank to a floor drain or sump pump. Blockages from hardened salt or sediment stop brine from escaping. Disconnect the drain line (have a bucket ready) and flush it backward with a hose. Clear stubborn clogs with a straightened wire or small plumbing snake. Reconnect securely and test.
If the drain line runs clear, the float valve needs attention. Open the salt tank and look for a small plastic float (often a foam ball or cylinder). Check that it moves freely up and down. Mineral deposits sometimes jam floats, gently clean it with vinegar and a soft brush. If the float is cracked or stuck, replacement is straightforward: most float assemblies cost $30–$60 and pop in from the top without special tools.
Preventing Overflow and Mushing
Overflow and mushing (salt turning into a wet, unusable paste) both stem from standing water in the salt tank. After regeneration completes, the tank should drain nearly empty. If water pools at the bottom, the system can’t use salt efficiently and bacteria may grow.
Check your tank’s water level regularly. It should drop noticeably 6–12 hours after regeneration. If it stays high, the control valve isn’t draining correctly, a technician can inspect the valve internals. Keep the tank’s overflow pipe (usually a standpipe inside the tank) clear. Mineral buildup restricts it: periodic flushing with vinegar helps. Product reviews from Good Housekeeping note that salt additives claiming to prevent mushing are largely marketing, proper maintenance and dry storage matter far more than chemical aids.